1. Log in to your G-mail account.
- Log in to your g-mail account.
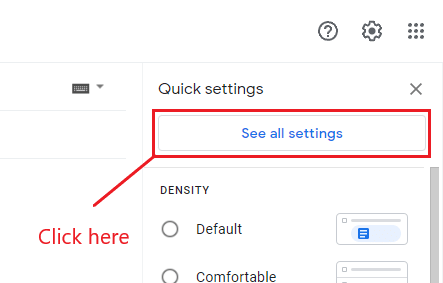
- Click on the “gear” icon on the top right
![]()
Then, click “See all settings”
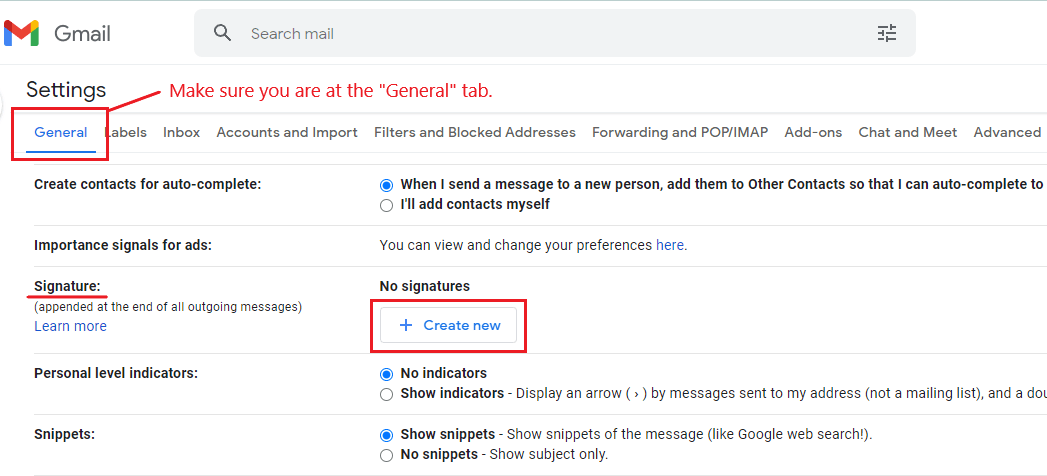
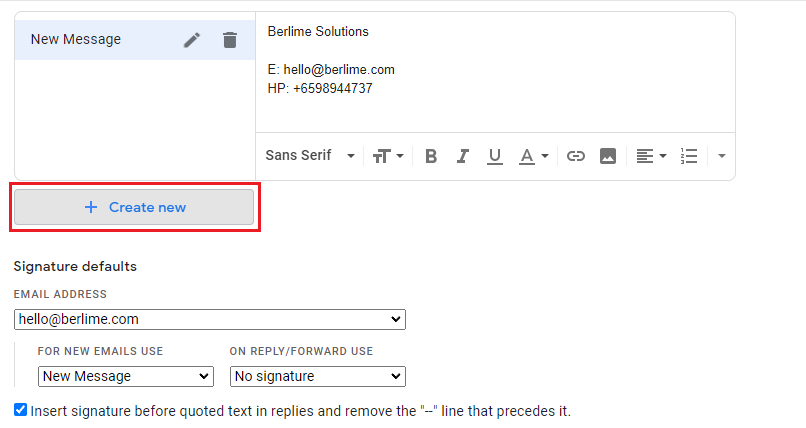
2. Navigate to “Signature” in the General tab
- In the “General” tab, scroll down until you see the “Signature” section.
- Click “+ Create new” to create a signature template.
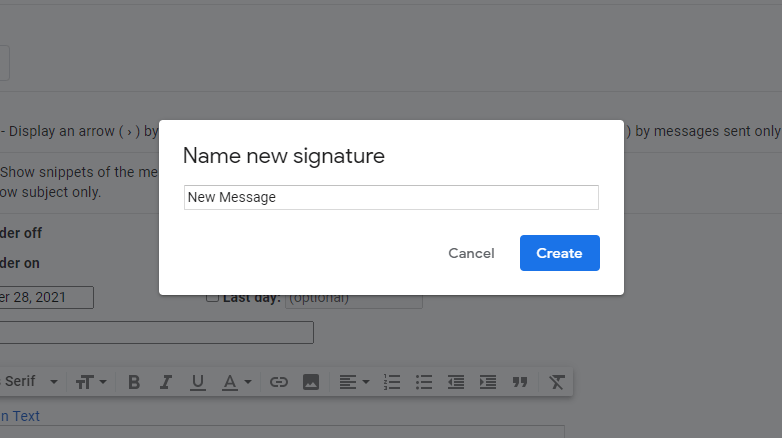
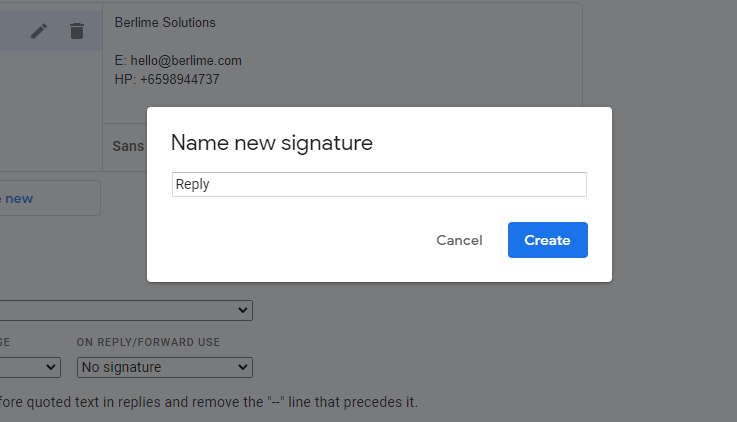
3. Name your signature template.
- A box will pop up & requires you to name your signature template.
- We will name this template “New message” as we will use this signature template ONLY for new e-mail messages.
- You can name it anything you want as long as it is easy for your reference that this is used for new e-mail messages.
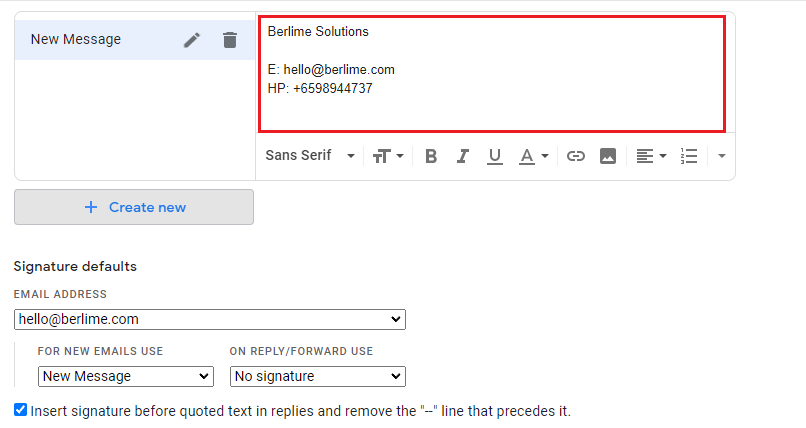
4. Insert your signature.
- Insert your signature within the red box. Be sure the newly created template is selected/highlighted.
- In this guide, it is “New Message”
5. Create a new signature template for replying to e-mails.
- Click “+Create new” to create another signature template.
- This time we will use it for replying to e-mails.
6. Name your reply signature template
- A box will pop up & requires you to name your signature template.
- We will name this template “Reply” as we will use this signature template ONLY for replying to e-mail messages.
- You can name it anything you want as long as it is easy for your reference that this is used for replying to e-mail messages.
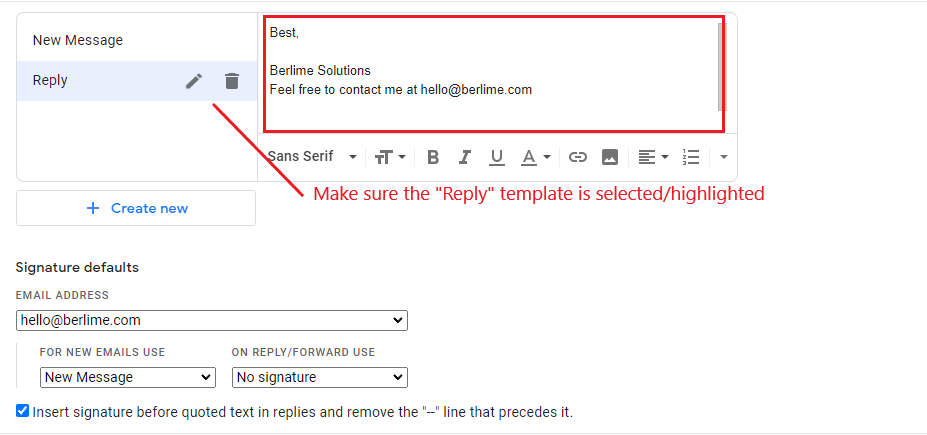
7. Insert reply signature.
- Insert your reply signature within the red box. Be sure the newly created reply template is selected/highlighted.
- In this guide, it is “Reply”
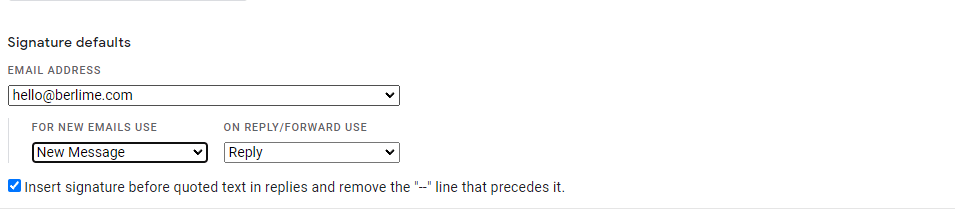
8. Configure signature details.
- Just below, under “Signature details” choose the e-mail address you want to implement the signatures.
- Next, under “FOR NEW EMAILS USE” choose the template you created for new e-mail messages.
- In this guide, we will choose “New Message” template that we have created.
- Next, under “ON REPLY/FORWARD USE” choose the template you created for replying to e-mail messages.
- In this guide, we will choose “Reply” template that we have created.
- Reply template also applies for forwarding e-mails
- Tick the check box.
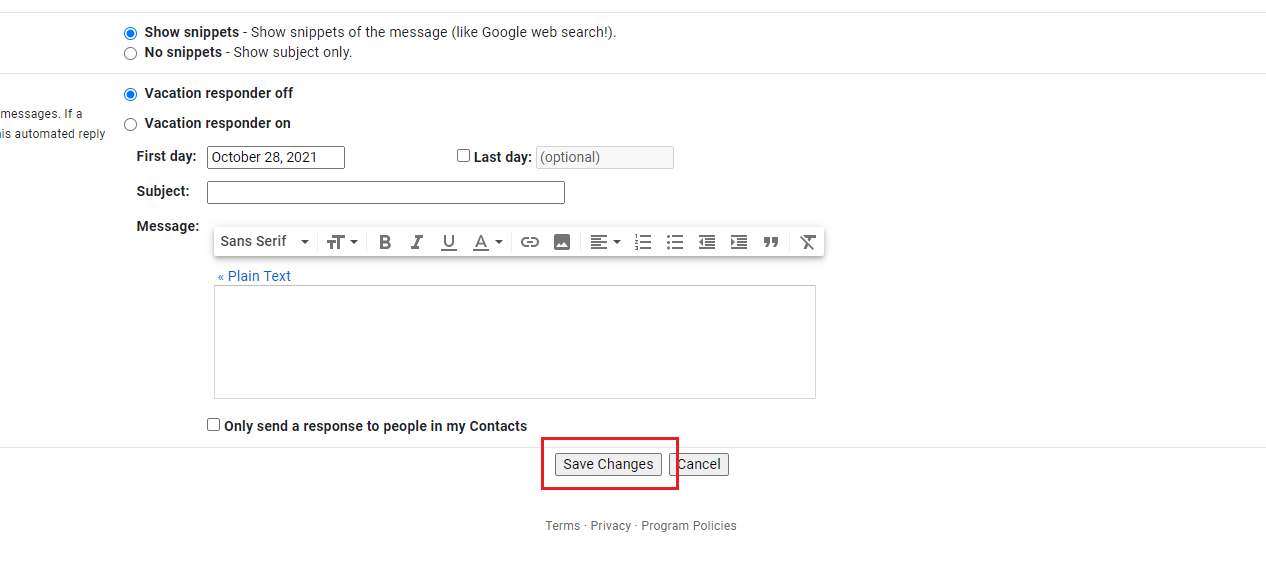
9. Save your settings.
- Navigate to the bottom of the page.
- Click “Save Settings” to save the changes.
- Please remember to save the changes in order for the signature to work.